
For my Oracle RAC deployments I use FreeNAS to provide shared storage to my cluster nodes. In this blog post I will show, how to upgrade an existing FreeNAS 9.x installation to an 11.x release.
Table of Contents
Upgrade Methods
There are different ways to upgrade a FreeNAS installation. I will use the web console approach in this blog post. Apart from that, an ISO file can be used for the upgrade.
Caution with FreeNAS 11.3
The current version of FreeNAS is 11.3-U3, which can be downloaded here. In my first attempt I used this release as my upgrade target. The upgrade itself went smoothly, but the reboot of the server hangs at the following step:
middlewared: setting up plugins (pwenc) [2/35]
After waiting a long time the prompt appears, but the server is not functional. Accessing the web console throws the following error. JIRA ticket https://jira.ixsystems.com/browse/NAS-104813 explains this issue in more detail.

With FreeNAS 11.2-U8 everything works fine. I will use this version to demonstrate the upgrade process.
Save Configuration
This step is optional but recommended. Saving the current FreeNAS configuration allows a quicker recovery for the case that the upgrade fails.
Navigate to System > General and press the button Save Config to save the current configuration to your local machine.
Perform Upgrade
After logging into the web console, navigate to the System menu item and open to the Update tab afterward.
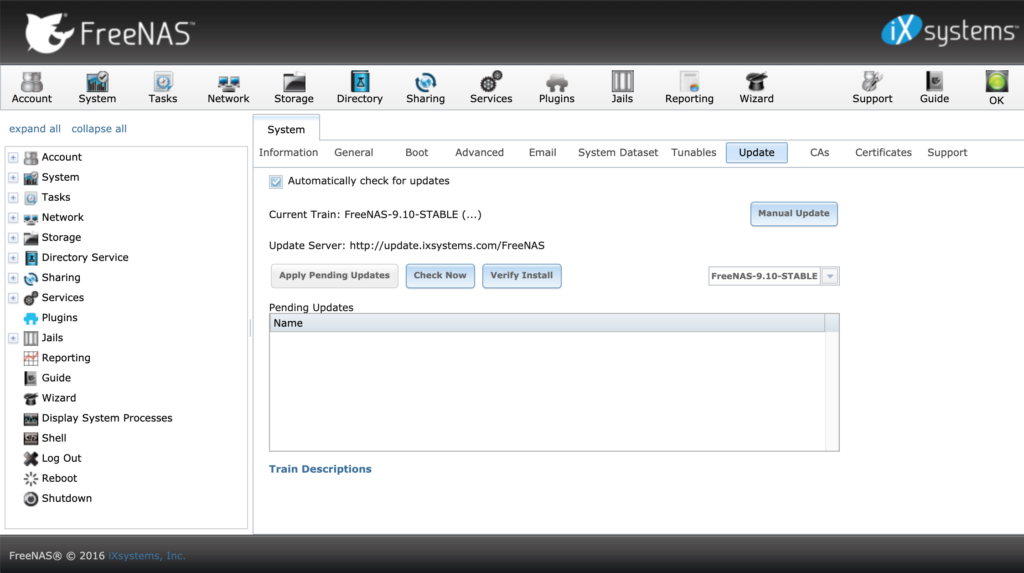
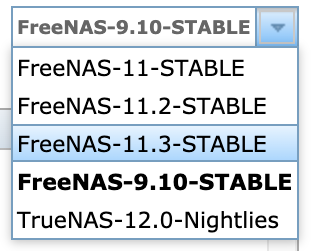
As default the train (update stream) belonging to the installed release is selected to search for new updates. To upgrade FreeNAS select the target version and confirm the prompt with Yes.

After pressing the Check Now button, the list of available upgrade packages is displayed.
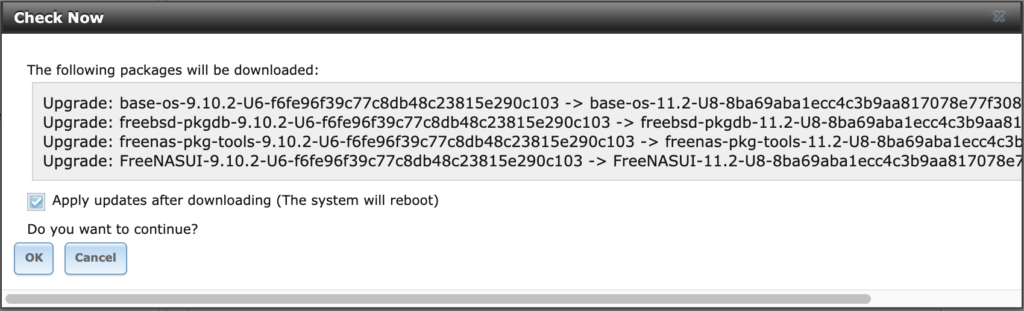
Enable the checkbox to automatically install the updates after the download and press OK to start the upgrade. The FreeNAS server is automatically rebooted after the upgrade.
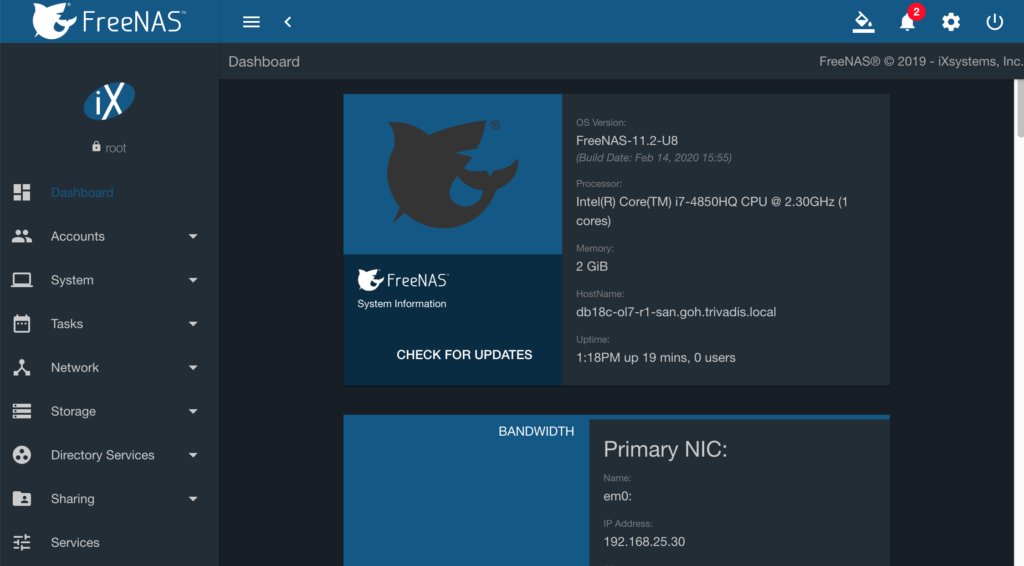
After the reboot of the server the new web console is accessible. On the dashboard the upgraded version is also visible.
Upgrade ZFS Pools
If ZFS pools already exist, all of them have to be upgraded to remove the following alert.
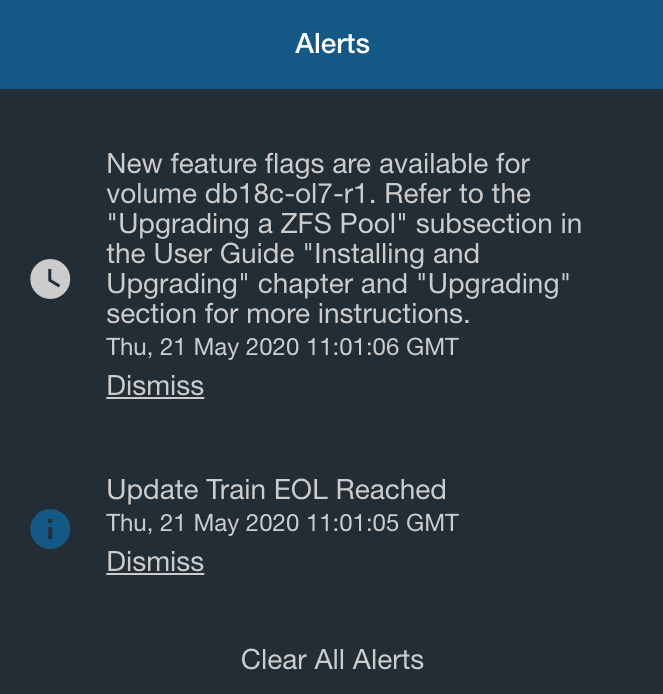
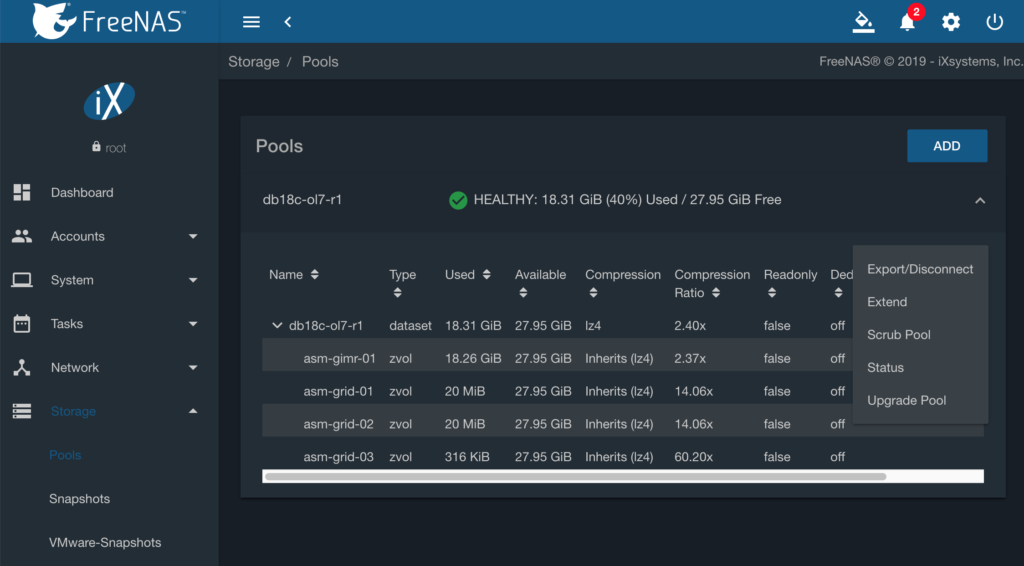
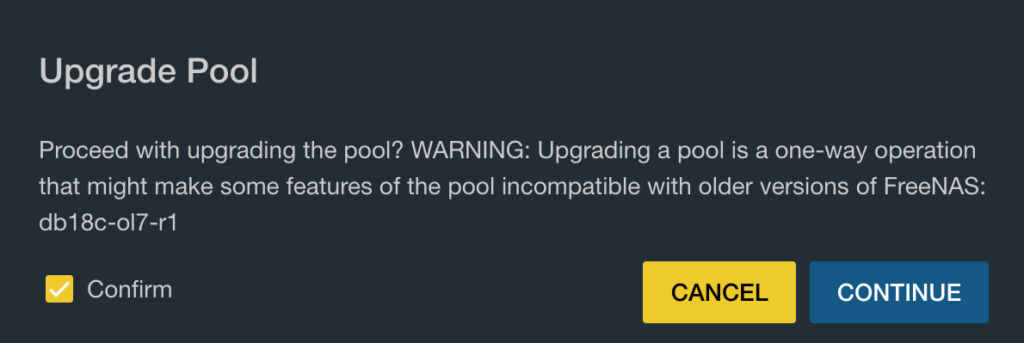
To do this navigate to Storage > Pools and run Upgrade Pool from the context menu for all existing ZFS pools.
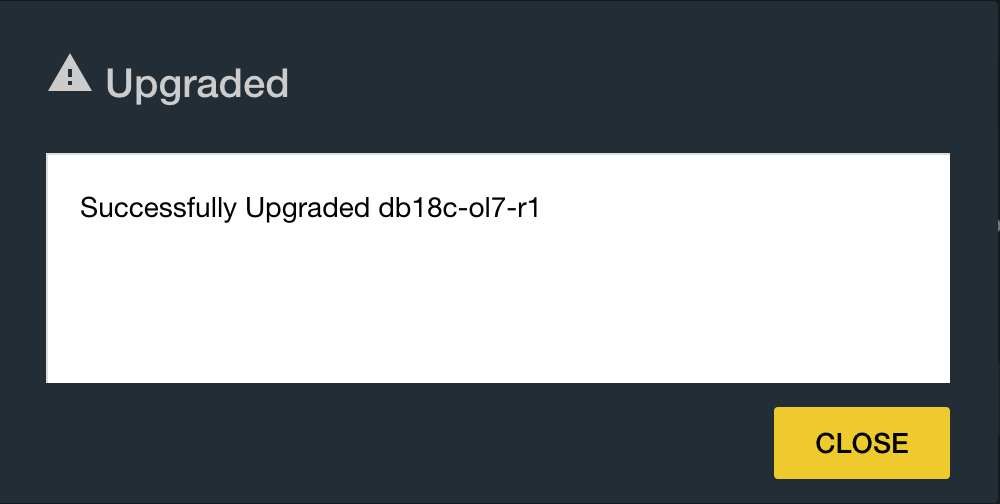
After all ZFS pools are upgraded, the alert will disappear.
Hello. I was trying to update my freeNAS from 9.10 to 11.3 today and I am experiencing the same web console error (make sure powered and connected) and the system itself shows error (61: Connection refused). I am now stuck. How do I proceed from here so I can attempt to update to 11.2 as you suggested? I really appreciate any help you are able to offer.
In my case, I created a snapshot of my virtual machine before running the upgrade. When I encountered the error, I reverted the virtual machine to the point in time before the upgrade and tried it with the older version.
Did you use the current version 11.3-U4.1? Maybe the bug is fixed with that version. If not a downgrade is as far as I know not possible. So you have to reinstall FreeNas and import the existing ZFS pools.
i have same problem using 11-3 U4.1 now stuck, cannot joint to network
JIRA ticket https://jira.ixsystems.com/browse/NAS-107470 reports the same issues with 11.3-U4.1. It looks like that they cannot find the root cause for this. So I recommend to stay with 11.2. As I said, no downgrade is possible.
I had the same issue upgrading from 9.10 to 11.3. However, I was able to interrupt the boot process and fiddle with the boot settings to get Freenas to boot into 9.10. I apologize, but I didn’t document the exact steps. I believe it was in the “boot environment.” After I launched 9.10, I was able to follow the regular upgrade process to install 11.2 without issue.
Thanks for the hint. I will looking into that direction. Glad to hear, that it solved your problem.